In Part 1 of this series we have set up a working Podman 4 implementation with Netavark on Debian.
In this post we will set up a Pod running the WordPress and Mysql containers to serve this website
We’ll start with creating a Pod.
Every Pod in Podman has its own IP, and unlike docker-compose “pods” no new network will be configured to allow containers to talk, and all containers will talk to eachother using localhost.
This unfortunately means that it won’t be single containers to expose ports, but the entire Pod.
Ports cannot be modified once a Pod is created, so we need to have our ideas clear from the beginning.
Luckily the WordPress container only exposes port 8080, which we want to map to port 80, so all we need to do is:
federico@centrostella:~$ podman pod create --name website -p 8081:80
dd2203eaf845fa1af37e7828184584c0ad93da5d3e9fa1be71f3573173da79ce
We can verify our Pod is alive with the command

Every Pod, to exist, needs a container to be active inside it. So Podman has kindly created an empty container running catatonit, which just… waits

Side note: check that your catatonit install supports the -P flag. If it does not, upgrade it following these instructions
Next we will create two containers, one for wordpress and one for postgres
podman run \
-d \
--pod website \
--name mysql \
-e MYSQL_DATABASE=blog \
-e MYSQL_USER=tabblog \
-e MYSQL_PASSWORD=antani \
-e MYSQL_RANDOM_ROOT_PASSWORD=true \
-v mysql-data:/var/lib/mysql \
docker.io/mysql:8
podman run \
-d \
--pod website \
--name wordpress \
-e WORDPRESS_DB_HOST=127.0.0.1 \
-e WORDPRESS_DB_NAME=blog \
-e WORDPRESS_DB_USER=tabblog \
-e WORDPRESS_DB_PASSWORD=antani \
-v wordpress-data:/var/www/html \
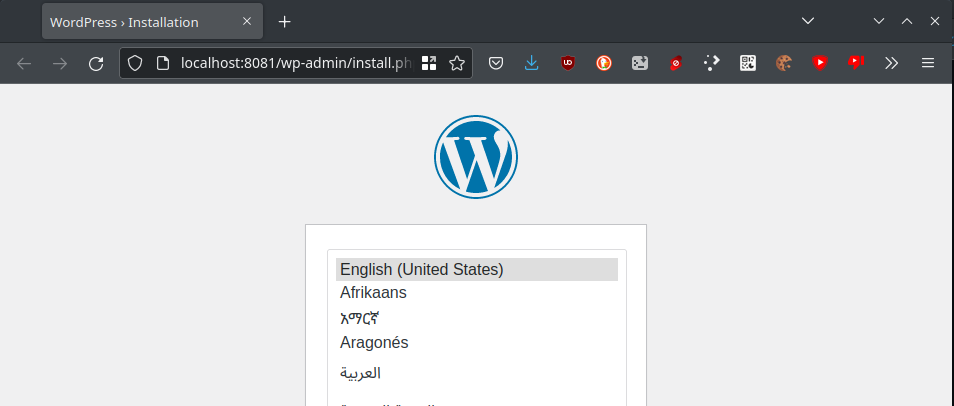
docker.io/wordpressAfter a few moments we should be able to reach our new website on port 8081
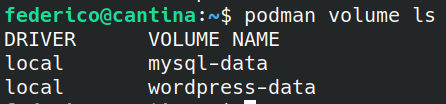
Notice how we have bound two volumes to the data folders of the containers:
-v mysql-data:/var/lib/mysql
-v wordpress-data:/var/www/html
This means mapping the Podman volumes “mysql-data” and “wordpress-data” to the respective paths inside the container, so the application data can persist across container creation and deletions.
If we hadn’t mounted these volumes, everything would have been lost upon container destruction.
Notice also how Podman, unlike Docker, has automatically created the volumes for us
Let’s make it repeatable
Destroy the pod.
No really, tear it down. That’s what Podman is for. But first, we want to make a copy to make it repeatable.
While Docker’s docker-compose files are probably more readable, this is a journey to Kubernetes. So let’s create a Kube file.
podman generate kube website > website.ymlWarning: unfortunately I’ve been unable to have the next steps work on Debian.
While the previous steps all worked, I kept getting an error that told me that the previous steps are just unsupported. Further googling seemed to indicate a problem with the kernel itself.This is not a rabbit hole I want to go down to, at least for now.
Afterall, if I want to play Red Hat’s game, I have to play by Red Hat’s rules.
All steps from now on will be run on a Fedora Server installation, where the entire previous post is just “
yum install podman“
Then, reimport the pod with podman play kube website.yml.
That’s it! The entire pod will be recreated and spun up.
And then it’s just a matter of adding a bit of reverse proxying on my nginx frontend:
server {
    listen 443 ssl http2;
    server_name blog.tabbo.it;

    # standard ssl config and cert paths

    location / {
        proxy_pass http://127.0.0.1:8081/;
        proxy_http_version 1.1;
        proxy_set_header X-Forwarded-For $proxy_add_x_forwarded_for;
        proxy_set_header X-Forwarded-Proto https;
        proxy_set_header Upgrade $http_upgrade;
        proxy_set_header Connection "Upgrade";
        proxy_set_header Host blog.tabbo.it;
    }
}
Done!