In Part 2 we have seen how helpful Helm Charts can be so… let’s write our own.
helm create chartthat was easy.
Oh , right, we have to actually _do_ something with it.
As always, all code will be available in this repo.
Helm Charts start deploying an nginx container. That’s fine so far, as we still don’t have an image for our app – that will come later.
For now I want to focus on installing dependencies for my application – Postgres, Redis, InfluxDB.
Make sure you’ve installed the Bitnami repo, then search for your desired package
$ helm repo add bitnami https://charts.bitnami.com/bitnami
$ helm search repo bitnami/postgres
NAME                    CHART VERSION   APP VERSION     DESCRIPTION
bitnami/postgresql      12.1.6          15.1.0          PostgreSQL
bitnami/postgresql-ha   10.0.7          15.1.0          This PostgreSQL
We’re going to add postgresql. Add the following code to Chart.yaml
dependencies:
  - name: postgresql
    version: '12.1.6'
    repository: https://charts.bitnami.com/bitnami
Rinse and repeat for the other dependencies:
dependencies:
  - name: postgresql
    version: '12.1.6'
    repository: https://charts.bitnami.com/bitnami
  - name: redis
    version: '17.4.0'
    repository: https://charts.bitnami.com/bitnami
  - name: influxdb
    version: '5.4.14'
    repository: https://charts.bitnami.com/bitnami
Finally, run helm dependency update to download helm charts locally.
Let’s try it!
$ microk8s helm -n metamonitor install metamonitor .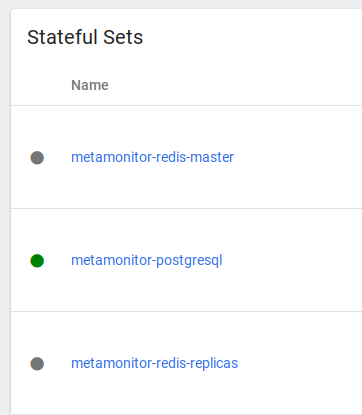
Except that now we have a Redis master and THREE replicas! A little overkill for what I need.
Editing configuration
These charts are nice and everything but they are a little overkill for what we need. Luckily, we can customise them.
Just like we would customise them in the “values.yaml” file if we were dealing with them directly, so we can do here, adding a section named after the repo in the “values.yaml” file
redis:
  architecture: standalone
Since this is just the beginning, uninstall, install, and we’re done!
Back to my application
Until now we’ve been preparing all the side-dishes, but what about the main course?
Just need to fill out some data in Chart.yaml. For this, I’ll be using the local repository in k8s, “localhost:32000” which can be enabled with microk8s enable registry
Configuration is quite straightforward, just need to fill out the values:
image:
  repository: localhost:32000/metamonitor
  # Overrides the image tag whose default is the chart appVersion.
  tag: "latest"

service:
  type: ClusterIP
  port: 8000
Environment variables
My application is configured through about 30 environment variables which I now pass through a Docker env file.
Kubernetes of course supports passing environment variables but we can’t do it via a file.
We do it through Config Maps
Add the following variables to the values.yaml file
metamonitor:
  allowed_hosts:
  csrf:
    trusted_origins:
  django:
    debug:
    secret_key:
  ldap:
    bind:
      dn:
      password:
    group:
      base_search:
      filter:
      is_active:
      is_staff:
      is_superuser:
    server_uri:
    ssl_ignore_certificate:
    start_tls:
    user:
      query:
      search:
And then, add a configmap.yaml file in the templates/ folder, as such
kind: ConfigMap
apiVersion: v1
metadata:
  name: {{ include "chart.fullname" . }}-config
  labels: {{- include "common.labels.standard" . | nindent 4 }}
    {{- if .Values.commonLabels }}
    {{- include "common.tplvalues.render" ( dict "value" .Values.commonLabels "context" $ ) | nindent 4 }}
    {{- end }}
  {{- if .Values.commonAnnotations }}
  annotations: {{- include "common.tplvalues.render" ( dict "value" .Values.commonAnnotations "context" $ ) | nindent 4 }}
  {{- end }}
data:
  {{- if .Values.metamonitor.allowed_hosts }}
  ALLOWED_HOSTS: localhost,{{ .Values.metamonitor.allowed_hosts }}
  {{- else }}
  ALLOWED_HOSTS: "*"
  {{- end }}
  AUTH_LDAP_BIND_DN: {{ .Values.metamonitor.ldap.bind.dn }}
  AUTH_LDAP_BIND_PASSWORD: {{ .Values.metamonitor.ldap.bind.password }}
  AUTH_LDAP_GROUP_BASE_SEARCH: {{ .Values.metamonitor.ldap.group.base_search }}
  AUTH_LDAP_GROUP_FILTER: {{ .Values.metamonitor.ldap.group.filter }}
  AUTH_LDAP_GROUP_IS_ACTIVE: {{ .Values.metamonitor.ldap.group.is_active }}
  AUTH_LDAP_GROUP_IS_STAFF: {{ .Values.metamonitor.ldap.group.is_staff }}
  AUTH_LDAP_GROUP_IS_SUPERUSER: {{ .Values.metamonitor.ldap.group.is_superuser }}
  AUTH_LDAP_SERVER_URI: {{ .Values.metamonitor.ldap.server_uri }}
  AUTH_LDAP_SSL_IGNORE_CERTIFICATE: {{ .Values.metamonitor.ldap.ssl_ignore_certificate }}
  AUTH_LDAP_START_TLS: {{ .Values.metamonitor.ldap.start_tls }}
  AUTH_LDAP_USER_QUERY: {{ .Values.metamonitor.ldap.user.query }}
  AUTH_LDAP_USER_SEARCH: {{ .Values.metamonitor.ldap.user.search }}
  {{- if .Values.metamonitor.csrf.trusted_origins }}
  CSRF_TRUSTED_ORIGINS: {{ .Values.metamonitor.csrf.trusted_origins }}
  {{- end }}
  DB_ENGINE: django.db.backends.postgresql_psycopg2
  DB_HOST: {{ .Release.Name }}-postgresql-hl
  DB_NAME: {{ .Values.postgresql.auth.database }}
  DB_USER: {{ .Values.postgresql.auth.username }}
  DJANGO_DEBUG: {{ .Values.metamonitor.django.debug }}
  INFLUXDB_BUCKET: {{ .Values.influxdb.auth.admin.bucket }}
  INFLUXDB_ORG: {{ .Values.influxdb.auth.admin.org }}
  INFLUXDB_URL: http://{{ .Release.Name }}-influxdb:8086
  STATIC_ROOT: /metamonitor/static/
Ignoring the upper part of the template, let’s checl the main features of this template:
- Most variables are just taken from
values.yaml. You do so by calling them like so:{{.Values.metamonitor.ldap.bind.dn}} - Other variables are built from variables generated by the subcharts, like postgresql and influxdb.
Since the postgres chart will always generate aServicecalled<name>-postgresql-hl, where “name” is the value we pass to the install command ("helm install <name> .“) we can just set the DB hostname as so:
DB_HOST: {{ .Release.Name }}-postgresql-hl, and same for Influxdb
Secrets
Django needs a “secret key” to generate cookies from.
I want to be able to pass it via config, or to have it autogenerated at deploy time.
So I’ve added templates/secrets.yaml
apiVersion: v1
kind: Secret
metadata:
  name: {{ include "common.names.fullname" . }}-web
type: Opaque
data:
  DJANGO_SECRET_KEY: {{ include "common.secrets.passwords.manage" (dict "secret" (include "common.names.fullname" .) "key" "DJANGO_SECRET_KEY" "providedValues" (list "metamonitor.django.secret_key") "length" 50 "strong" true "context" $) }}
This uses Bitnami’s “common” helm chart providing a function to fetch data from either “metamonitor.django.secret_key”, if available, or by an existing Secret inside Kubernetes ((dict "secret" (include "common.names.fullname" .) "key" "DJANGO_SECRET_KEY").
Should neither of these be available, a default value will be generated and stored ("length" 50 "strong"
Now we need to pass all of these variables to our container, including the postgres password and the influxdb token, which are stored in the respective secrets:
containers:
- name: {{ .Chart.Name }}
  # more data
  envFrom:
  - configMapRef:
      name: {{ .Release.Name }}-web-config
  env:
  - name: DJANGO_SECRET_KEY
    valueFrom:
      secretKeyRef:
        name: {{ include "common.names.fullname" . }}-web
        key: DJANGO_SECRET_KEY
        optional: false # same as default; "mysecret" must exist
                        # and include a key named "password"
  - name: INFLUXDB_TOKEN
    valueFrom:
      secretKeyRef:
        name: {{ .Release.Name }}-influxdb
        key: admin-user-token
        optional: false # same as default; "mysecret" must exist
                        # and include a key named "password"
  - name: DB_PASSWORD
    valueFrom:
        secretKeyRef:
          name: {{ .Release.Name }}-postgresql
          key: password
helm install metamonitor .
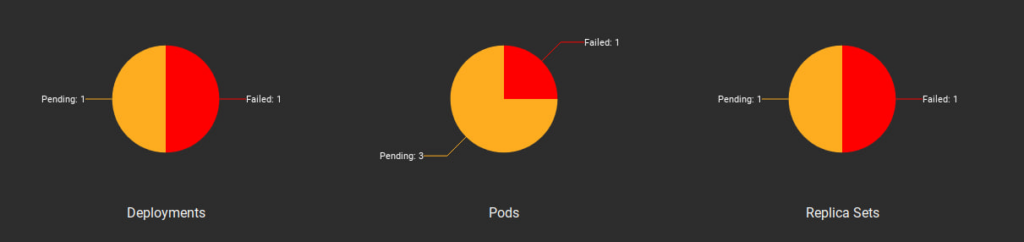
Fingers crossed… give it time….
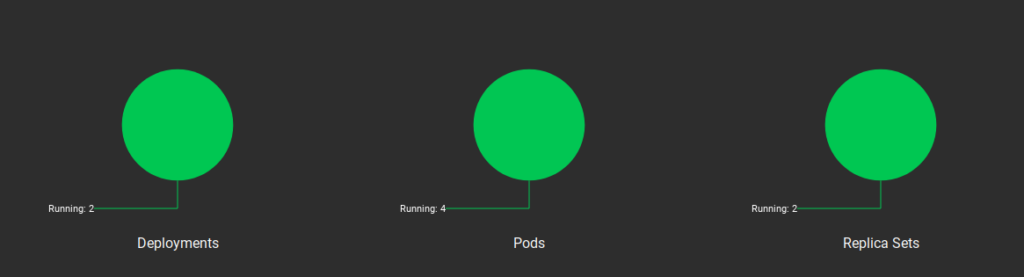
Hooray!
Let’s try a port-forward with kubectl port-forward <pod-name> 8000:8000 andddddd
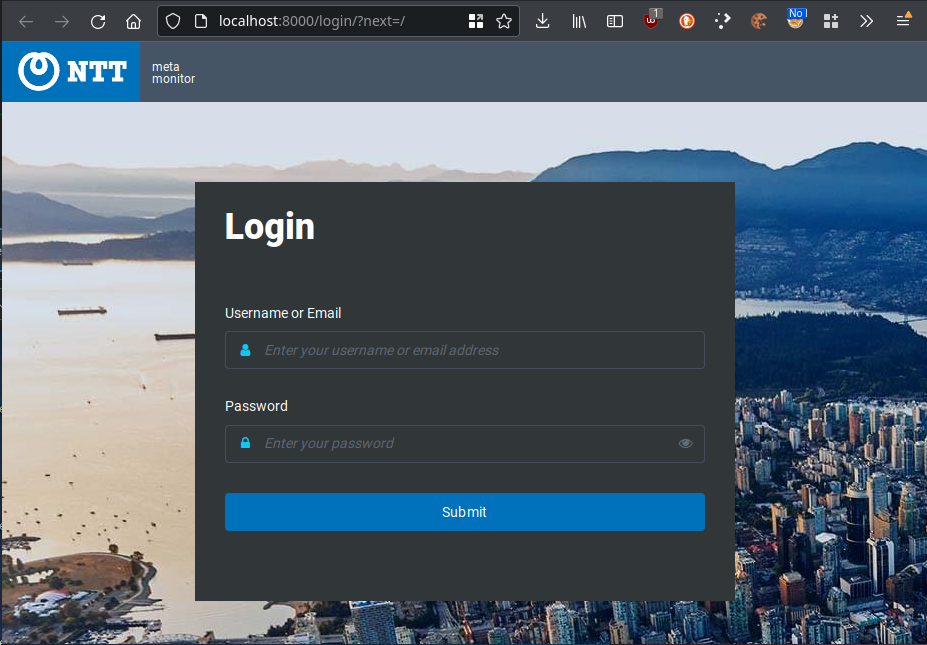
I can’t show you any further than the login screen, but next time we’ll look into Ingress Controllers to expose this application through a hostname