
At my current workplace I have been “bestowed” the development and upkeep of an internal tool – Metamonitor.
Since our Managed Services team has a lot of customers, each with their own monitoring system, an ex-colleague had built (and I’ve since completely rewritten and expanded) a Django application against which monitoring systems fire webhooks, centralizing event-management.
The architecture
Metamonitor already runs under docker-compose, and is built as such:
version: '3'

services:
  db:
    image: postgres

  web:
    image: metamonitor:latest

  nginx:
    image: nginx:alpine

  migration:
    image: metamonitor:latest
    command: bash -c "cd /code && python manage.py collectstatic --noinput && python manage.py migrate --noinput"

  celery:
    image: metamonitor:latest
    command: celery -A metasedano.celery worker --loglevel=info

  celerybeat:
    image: metamonitor:latest
    command: celery -A metasedano.celery beat --loglevel=info

  grafana:
    image: grafana/grafana:main

  traefik:
    image: traefik

  influxdb:
    image: influxdb:2.5-alpine

  telegraf:
    image: telegraf:1.23-alpine

  redis:
    image: redis:7
    restart: unless-stopped
- The core is built out of a Django app (
web) with Postgres (db) backend. Themigrationcontainer runs Django database migrations and collects static files to serve throughnginx - Background async tasks and scheduled tasks are run by the
celeryandcelerybeatcontainers, which talk among themselves and with the main app throughredis influxdbfor long-term statistics, both of application performance and ticketing metricsgrafanafor nice dashboards on the NOC ledwall (because a NOC without giant monitors is just an open space)træfixto route it all
Installing Kubernetes
For this test, we’re going to use Canonical’s Microk8s. Yes, in a previous post I said I was going to use Red Hat-based stuff. Yes I changed my mind. This is a lab afterall.
To install Microk8s you can follow the installation guide or just copy-paste the following commands:
sudo snap install --classic microk8s
microk8s start
This will take a while on the first run as it has to download some data off the internet
Check everything is fine with the microk8s status command, then let’s install some extra components with this command:
microk8s enable dashboard dns hostpath-storage registryNow we need to expose the web interface.
This is where it gets tricky, as for now it’s an internal service and we need to expose it on our host machine, consider this like doing an old-fashioned “port forward”, just like the command says
microk8s kubectl port-forward -n kube-system service/kubernetes-dashboard 10443:443Leave the terminal open, go to https://localhost:10443 and accept the certificate
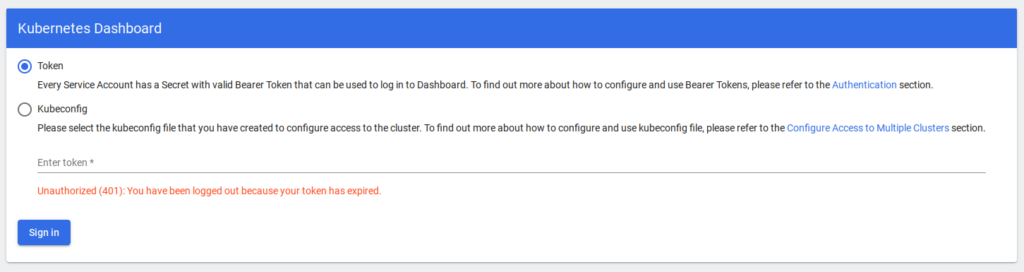
We’re going to need a token to log in.
This is tricky again, but bear with me.
..get it? bearer token?
ok, fiiiine
microk8s kubectl describe secret -n kube-system microk8s-dashboard-tokenCopy the “token” part (yes, all >900 characters of it) and paste it in the token field
Hello Kubernetes!
It’s tradition that when we play with a new technology we first have it say Hello World.
In Docker, it’s docker run --rm hello-world, what’s the Kubernetes equivalent?
microk8s kubectl run -i -t hello-world --image=docker.io/hello-world --restart=NeverHello World!
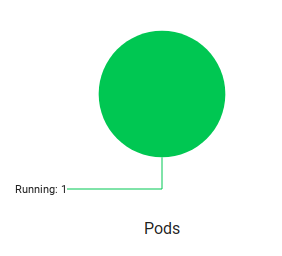
Now if we check the Pods section in the web dashboard we’ll see a new Pod called “hello-world”
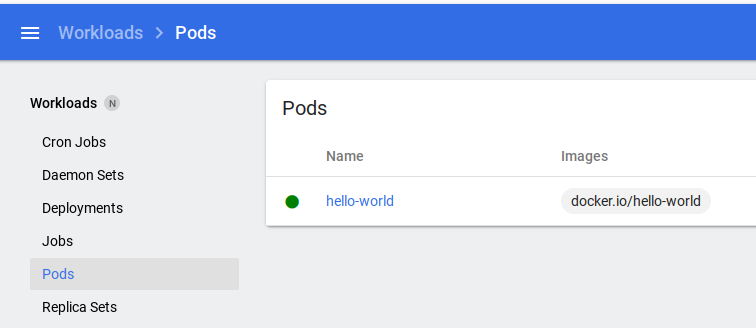
In the Kubernetes world, “Pods” are groups of containers, just like Podman’s “Pods”. For now, our Pod only has one container inside.
Delete the pod, either via web or via cli with microk8s kubectl delete pods hello-world
Something a little more complex?
Hello world is fun, but Kubernetes is built for microservices talking with eachother, we want some networking dammit.
We’re going to run traefik/whoami, a simple web server printing out its hostname.
This time though, we’re going to do it via YAML, which can be either copy-pasted in the web interface or saved in a file and loaded via cli with the command microk8s kubectl apply -f filename.yaml
Create a Pod running whoami:
---
kind: Pod
apiVersion: v1
metadata:
  name: whoami
  labels:
    app: whoami
spec:
  containers:
    - name: whoami
      image: traefik/whoami
      ports:
        - containerPort: 80
          protocol: TCP
  restartPolicy: Always
And check it’s running:
But we can’t reach it yet!
We could port forward, but we’re going to do something better
Services
In a dynamic and constantly-changing environment such as Kubernetes’, the only certainty is chaos.
Our app is only one container now, but what if it was two or more? Running on different hosts? How would we ever find it?
Kuberntes has the concept of services, that is a common service exposed by multiple pods. Let’s create a new one.
---
apiVersion: v1
kind: Service
metadata:
  name: whoami-web
spec:
  type: NodePort
  selector:
    app: whoami
  ports:
    - port: 80
      targetPort: 80

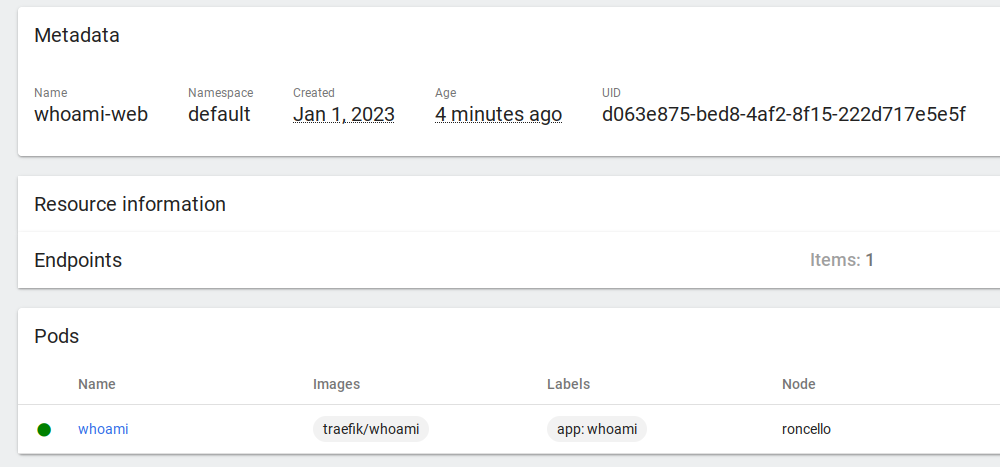
And here it is!
Kubernetes has assigned port 31951 for external reachability. Open a browser, go to localhost:31951 and…
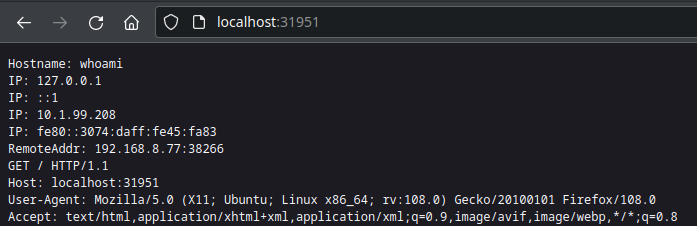
But how does Kubernetes know to send our request to our Pod? Well, we told it.
When creating our Pod we gave it a label “app: whoami”, and when we created our Service we gave it a Selector “app: whoami”
This is reflected in the dashboard, if we open the Service details we can see it’s linked to our Pod
Spice it up
I mentioned we could have more than one Pod running at a time running the same service, so we’re going to do that.
You can try by deleting the Pod and creating a second one using the YAML above and only changing the name tag (not app!), then refreshing the page in your browser. The hostname will match what you’ve written.
But we want Kubernetes to manage how many Pods to create, this is where Deployments come to help
---
kind: Deployment
apiVersion: apps/v1
metadata:
  name: whoami
  labels:
    app: whoami
spec:
  replicas: 5
  selector:
    matchLabels:
      app: whoami
  template:
    metadata:
      labels:
        app: whoami
    spec:
      containers:
        - name: whoami
          image: traefik/whoami
          ports:
            - containerPort: 80
              protocol: TCP
      restartPolicy: Always
      terminationGracePeriodSeconds: 30
This will create one Deployment with FIVE Pods, each running the same service and each grouped under our previous Service.
Try to delete a Pod – it will immediately spawn a new one!
Conclusion
We’ve learned what Pods, Deployments and Services are.
There’s still a long way to go, but by now I know that my application will need the following services:
- web=80
- db=5432
- nginx=80
- grafana=3000
- influxdb=8086
- redis=6379